Monday, April 1, 2013

Paper-Napkin Decoupage Eggs


The idea started with Martha Stewart, I just took it a few steps further. 
 Check out Martha Stewart's complete directions here.  

The basic necessities are eggs, paper napkins (with a design of your choosing) and Mod Podge.  To take the eggs to the next level I included egg dye and glitter paint pens.

The first step is to blow out your eggs.


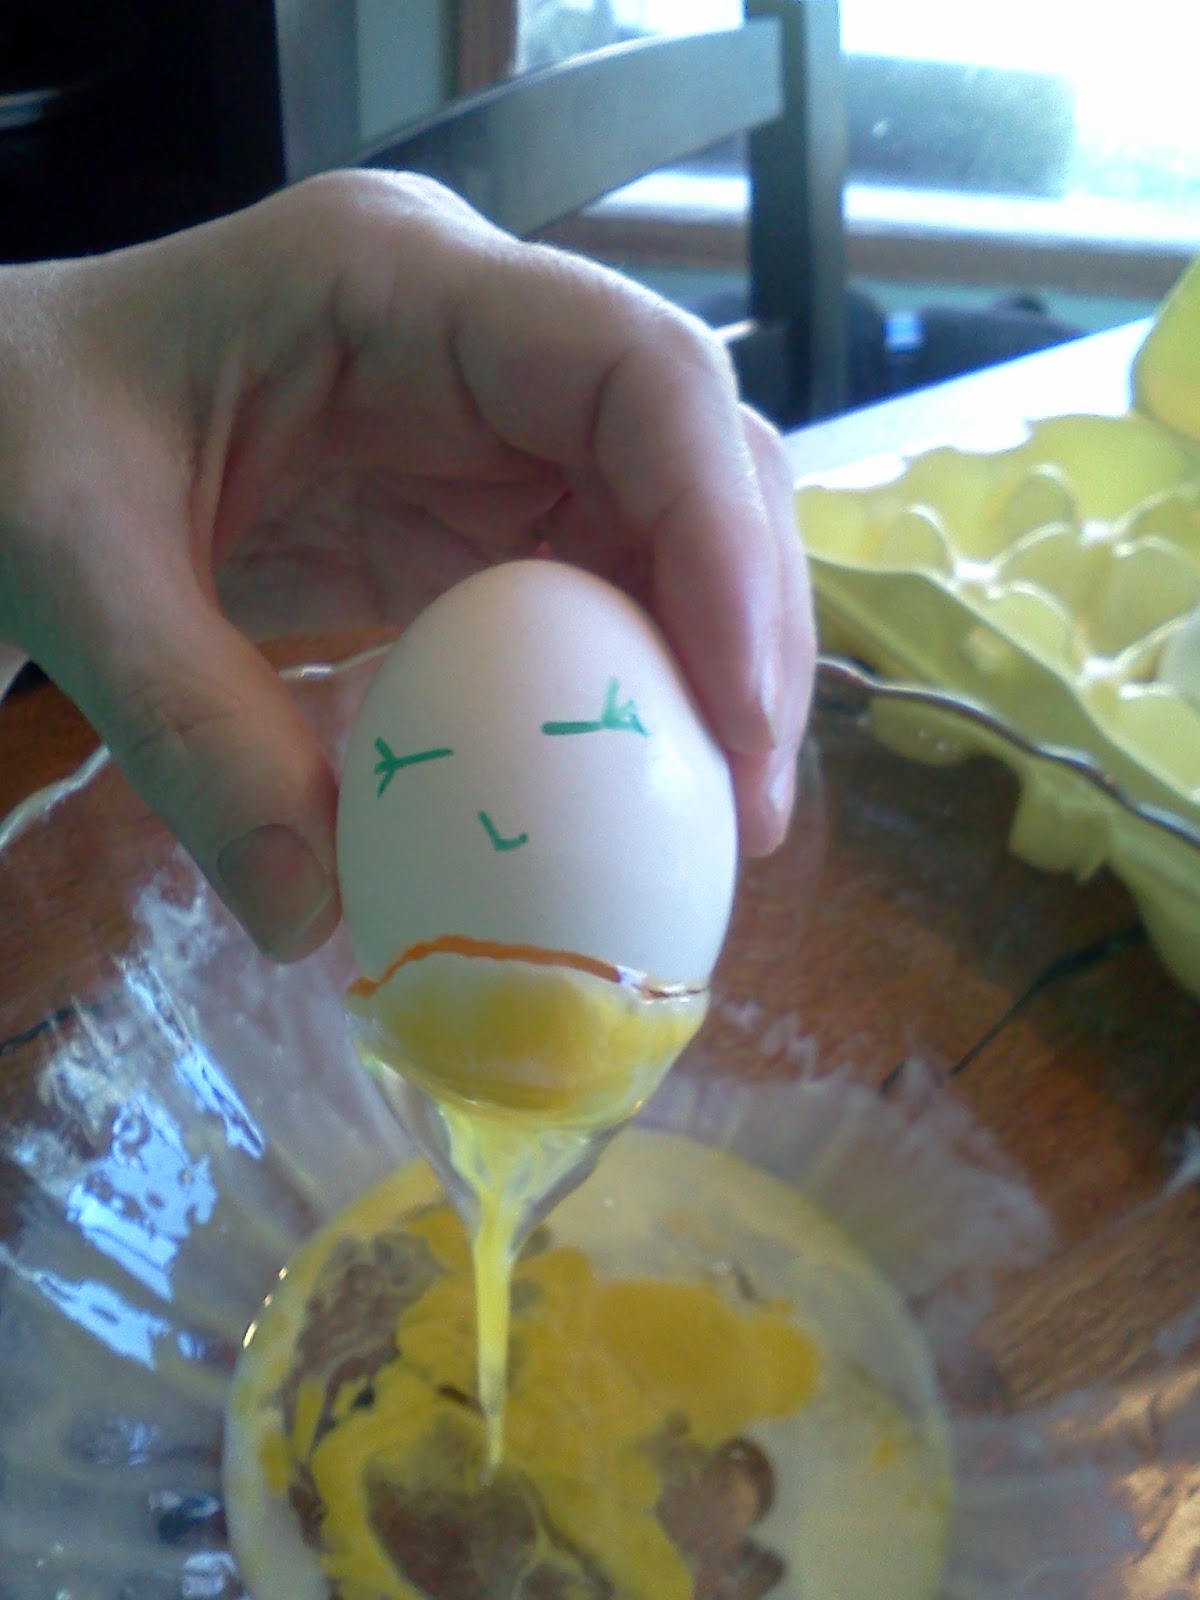
It would be a good idea to have extra eggs as you will likely have a few casualties.
The eggs colored and ready to decorate


Cut out the pieces of the napkin that you wish to use on your eggs.


You will need to have your eggs dyed ahead of time so they are 
perfectly dry before adhering the napkins pieces.


Use Mod Podge to adhere napkin pieces to your colored eggs.

Next you will use glitter paint pens to embellish your eggs.

The final step is to add a colorful ribbon at the top to hang your decorated eggs.


Happy Easter!!

Wednesday, December 26, 2012

Homemade Vanilla Extract


Bottomless Vanilla Extract

This Christmas several friends and family were recipients of homemade vanilla extract.  The recipe is simple... Vodka and split vanilla beans and a couple of months (for it to become vanilla-y).  What is great about this is that you may never have to buy vanilla extract again.  When the bottle starts to get low just add more vodka.  When it starts to lose the essence of vanilla just remove the old beans and add new split vanilla beans.  Simple!  

I found these great bottles at Specialty Bottle and the labels at myownlabels


I will be making more of these very soon!!

I hope everyone had a very Merry Christmas!!


Saturday, December 15, 2012

Crunchy Caramel Apple Pie


Crunchy Caramel Apple Pie

Filling

6 C - Apples, peeled and thinly sliced
1/2 C - Sugar
3 Tbls - Flour
1 tsp - Cinnamon
1/8 tsp - Salt

Crumb Topping

1 C - Brown Sugar
1/2 C - Flour
1/2 C - Quick Cooking Oats
1/2 C - Butter

Finishing Touch

1/2 C - Pecans, chopped
1/4 C - Caramel Topping

Plus Pastry for one pie


Prepare pastry for pie.  I use a Pillsbury Pie Crust, but if you prefer you can make your own pastry.  Line a 9" pie plate with pastry.  Trim and crimp edges as desired.


Prepare the crumb topping.  Stir together sugar, flour and oats.  Using a pastry blender, cut in butter until it resembles coarse crumbs.


In a large mixing bowl, stir together sugar, flour, cinnamon and salt.  Add apple slices and gently toss to coat.  Transfer apple mixture to pastry lined pie plate.


Sprinkle crumb topping over apple mixture.  


To prevent over-browning, cover edge of pie with foil.  Bake 25 minutes at 375.   Remove foil and bake an additional 25 - 30 minutes or until top is golden.  Remove from oven.  Sprinkle with pecans and drizzle with caramel topping.


Cool on wire rack.

Enjoy! 


This recipe is a family favorite.  I hope it becomes one of your favorites as well!!


Monday, October 8, 2012

Sweet and Salty Halloween Treats


I love sweet... and I love salty... Put them together and I'm a happy girl!!

A picture says a thousand words and I don't think you need that many to see that this is an easy snack to put together!  There are many different variations all over pinterest, but I found my inspiration here.

Ingredients:
Mini Pretzels (I used the snaps, shaped like squares)
Hershey Kisses Hugs (I used kisses and hugs)
Candy Corn

Directions:
Preheat oven to 350 degrees F. Line a cookie sheet with parchment paper or foil. Place pretzels on cookie sheet, not touching. Unwrap Hershey's Kisses (the most time consuming step of the whole process) and place on top of pretzels. Place filled cookie sheet in oven. Bake for 3-5 minutes but no longer. You will know they are ready when the Hershey Kisses start to get shiny. Take out of oven and gently place candy corn on top of Hershey Kisses, pushing down gently. Cool and then transfer to serving platter or wrap up as gifts. Your fridge will come in handy to speed the cooling process.

Enjoy!!


Saturday, October 6, 2012

Scarecrow Treats


The first Autumn Goodies of the year!  

Pinterest if full of wonderful looking recipes for Autumn, my favorite time of year!  It's time to start trying a few of them.  I found this recipe here and knew that this was one that I was going to have to make!  This is what you'll need to do:

Ingredients:

Crust

1/2 C butter softened
1 pkg yellow cake mix (pudding in the mix)
1 egg
3 C mini marshmallows

Topping

1/2 C light corn syrup
1/4 C sugar
1/4 C firmly packed brown sugar
1/2 C creamy peanut butter
2 tsp vanilla
2 C crisp rice cereal
2 C salted peanuts
1 C candy corn

Directions:

Heat oven to 350°F. Combine butter and cake mix in large bowl. Beat on low speed until well mixed. Add egg; continue beating until well mixed.

Press onto bottom of ungreased 15x10x1-inch jelly-roll pan. Bake for 12 to 15 minutes or until set and edges are lightly browned. Remove from oven. 

Immediately sprinkle marshmallows over hot, partially baked crust. Return to oven; continue baking for 1 to 2 minutes or until marshmallows puff.

Meanwhile, combine corn syrup, sugar and brown sugar in large saucepan. Cook over medium heat, stirring until mixture comes to a boil (2 to 4 minutes). Remove from heat; stir in peanut butter and vanilla until smooth. Stir in cereal, peanuts and candy corn. Immediately spoon over marshmallows; spread to cover. Cool completely. Cut into bars.


Enjoy!!

Mmmm... what's next!!

Saturday, September 29, 2012

Baby Rag Quilt


My first attempt at quilting was this rag quilt for a new baby girl!  This project took longer than I anticipated (since the directions said it could be completed in a week-end), partially because once I put it down it took me a while to get started again.  I do believe that if I were to make another it would go much easier... I hope!  This quilt was made with 2 layers of flannel and no batting, just right for a new baby!  You can find the directions and inspiration for this project here.


 Front of quilt with the ragged seams


The more this is washed the more the seams with "soften"


 The back of the quilt 


Ready to gift!

Thursday, July 26, 2012

Cheesy Garlic Biscuits


Other pinners claim that this recipe is a Red Lobster Cheddar Bay Biscuit "copy cat" recipe.  Uhh... not so much!  Don't get me wrong... these were really very good, and so easy, but I don't think they tasted like Red Lobster.  Maybe it's because I used the lower fat Bisquick, or maybe it's because I used garlic powder instead of garlic salt but whatever the reason it won't stop me from making this recipe again.  I found the recipe here.

Here's what to do...

1 1/2cups Bisquick
1 1/2cups shredded cheddar cheese
1/2 cup milk
2 tbsp butter
1 tbsp oregano (you can omit or use less)
3/4 tsp garlic salt

1. Preheat oven to 400F. Spray cooking sheet with non-stick spray.

2. Put biscuit mix, cheese and milk in a bowl and mix well to form a sticky dough.

3. Using spoon, drop lumps of dough onto cookie sheets. Bake for 10min.

4. In a bowl, melt butter and mix with oregano and garlic salt.

5. When the timer goes off, take them out and brush with butter mixture and bake 5min at 400F and another 5-6min at 350F.

Serve immediately!!